CtrlPortals - Adding a Calendar to the Sample Vault#
In this example, we will walk through how you can add a Calendar to a portal using CtrlPortals’ Calendar module. If you haven’t already, please follow through with the installation and configuration steps outlined in the previous example.
Adding an Event type#
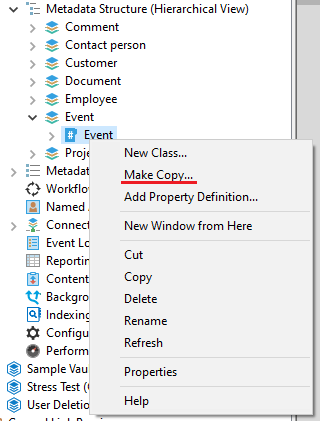
Before we get started with Portals, we need to expand on our M-Files object hierarchy. First, open the M-Files administration application (M-Files Admin) select Local Computer > Sample Vault and expand it. Then, right-click ‘Metadata Structure (Hierarchical View)’ and add a new object type. Call this type ‘Event’. Expand the ‘Event’ type in the Hierarchical View and open the properties for the class ‘Event’.
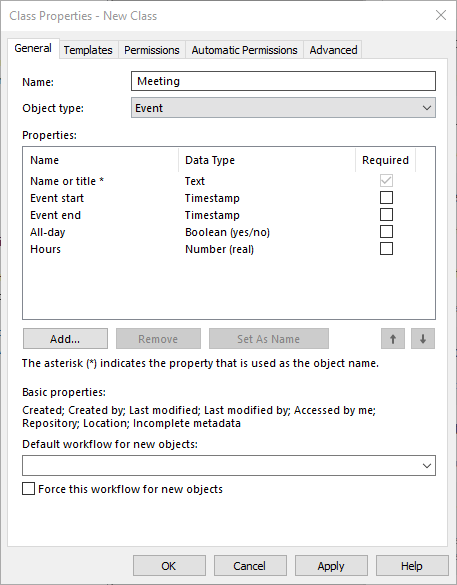
Here, define and add each of the following new property definitions to your Event class:
‘Event start’, a timestamp property.
‘Event end’, another timestamp property.
‘All-day’, a Boolean property.
‘Hours’, a number (real) property.
This class represents an event that can be displayed in the Calendar using the minimum required properties.
Now, we move on to the Portal configuration.
Adding the Calendar component#
Go to the CtrlPortals configuration entry and expand your existing configuration until you reach the Menu > Tabs-part of your Customer Portal. Here, add a new MenuTab to the menu. Name this tab Calendar.
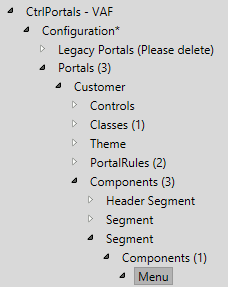
Open the components list and add a new component. Under type, select Calendar.
Adding Event types#
The next configuration entry of the Calendar component is the EventTypes list. Here, you can add the event types that are relevant for this particular Calendar. Add a new Entry and fill in the object type and class for the Entry class that you created in the previous steps.
Fill in the required configuration fields with the properties that you created in the previous steps.
Fill in the RelatedVia entry with the default property for the Customer type. The RelatedVia entry is used when new events are created to leave a reference to the object attached to the Portal. This is an optional property.
Select a BackgroundColor and a TextColor.
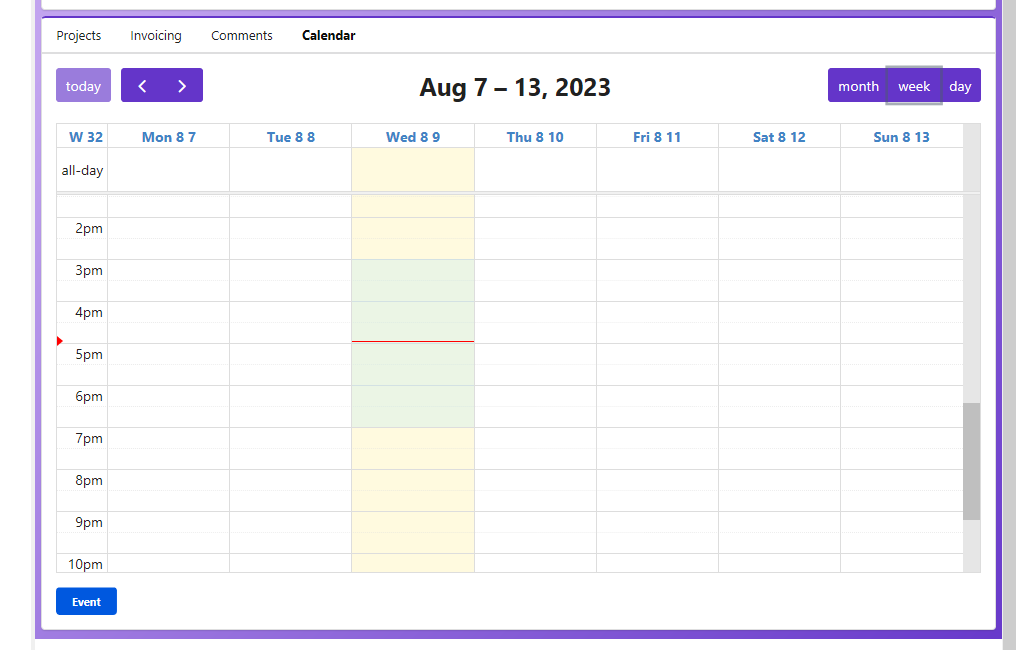
Finally, you can set the height of the calendar to an amount reasonably matching the amount of space you have left at the bottom of you portal. For my screen, 450 pixels is a good height. This is a completely optional step, but can help prevent having to scroll around the calendar when you are using it.
Interacting with the Calendar#
Now that you’ve added a Calendar to your customer Portal, open your M-Files client and refresh your configuration. Then, try opening the Portal for one of your Customers.
Then, open the new Calendar Menu Tab.
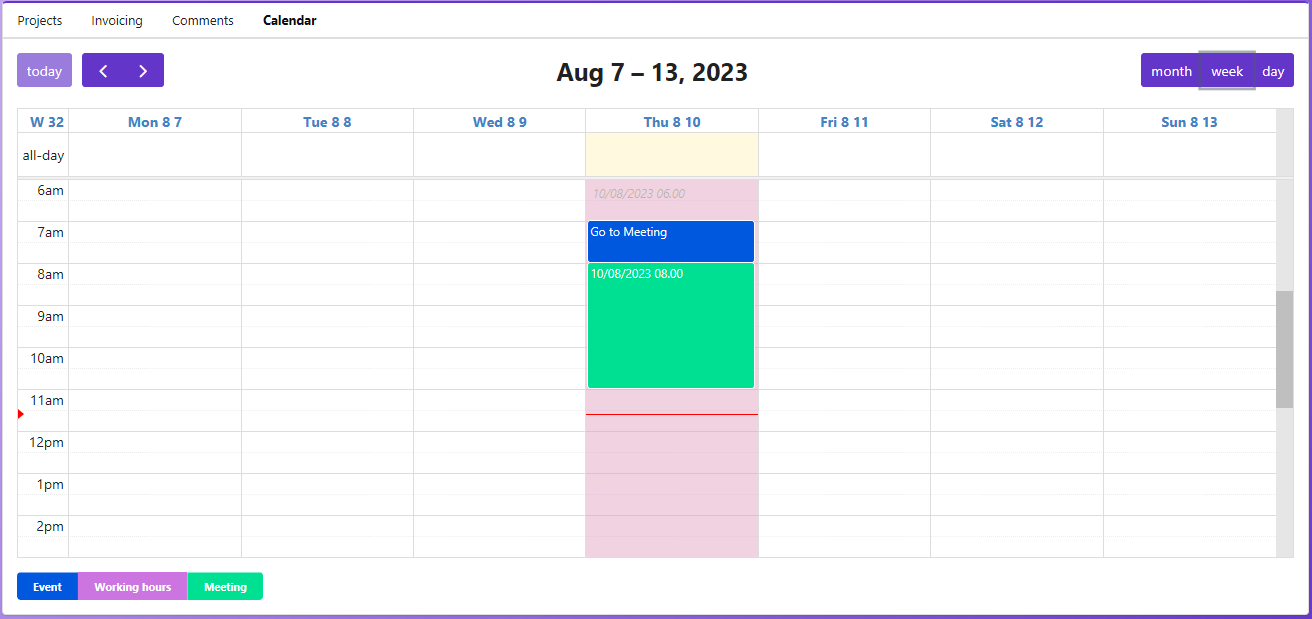
Now, the calendar should be visible, the default behaviour is to show a monthly overview. Click the week button in the top right to get an overview of the current week.
Then, try clicking and dragging over the cells. When you release the mouse, a new event object should be ready to be made for the currently selected period.
Once you have created a new event, you can open the event’s context menu by clicking it. This reveals a menu where you can open the metadata card, show the event in a list view or delete the event.
Expanding the Calendar#
Now, let’s try to expand on the calendar example. Go back to the M-Files administration application, open the Hierarchical view and copy the existing event class. Rename the new class to something else, like ‘Meeting’. Then, we need to change the properties a bit.
The goal here is that we want to create an event class with no required fields, allowing us to skip the metadata card when creating a new event.
So, we start by adding a new property, let’s call it ‘Event name’. Set the data type to Text. Now, open the automatic values tab and select ‘Simple concatenating of properties’. Then, click ‘add placeholder’. Select the ‘Event start’ property and add it as an alias. Add the ‘Event name’ property to the class. Here, move the ‘Event name’ property to the top and click ‘Set as name’. Now delete the ‘Name or title’-property.
Save and close the class window.
Now, go to the Portal configuration and find the Calendar component again. Make a copy of the existing event type.
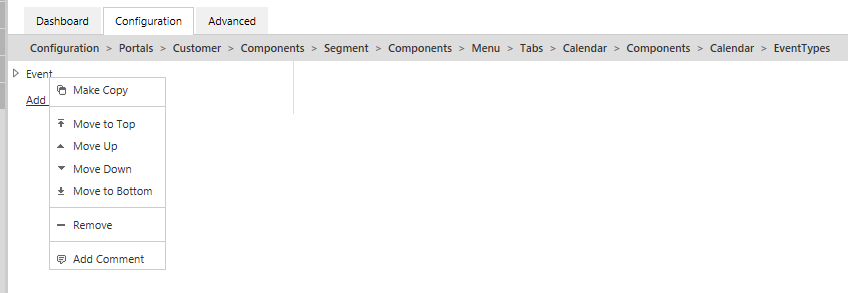
Correct the class to the ‘Meeting’ class that you created previously. Then, change the BackgroundColor of the event.
Reload the configuration in your CtrlPortals view and open one of our customer’s calendars.
Here, try adding the different event types. If everything has been configured correctly, you should be able to create events of your new type without having to open the metadata card at all!
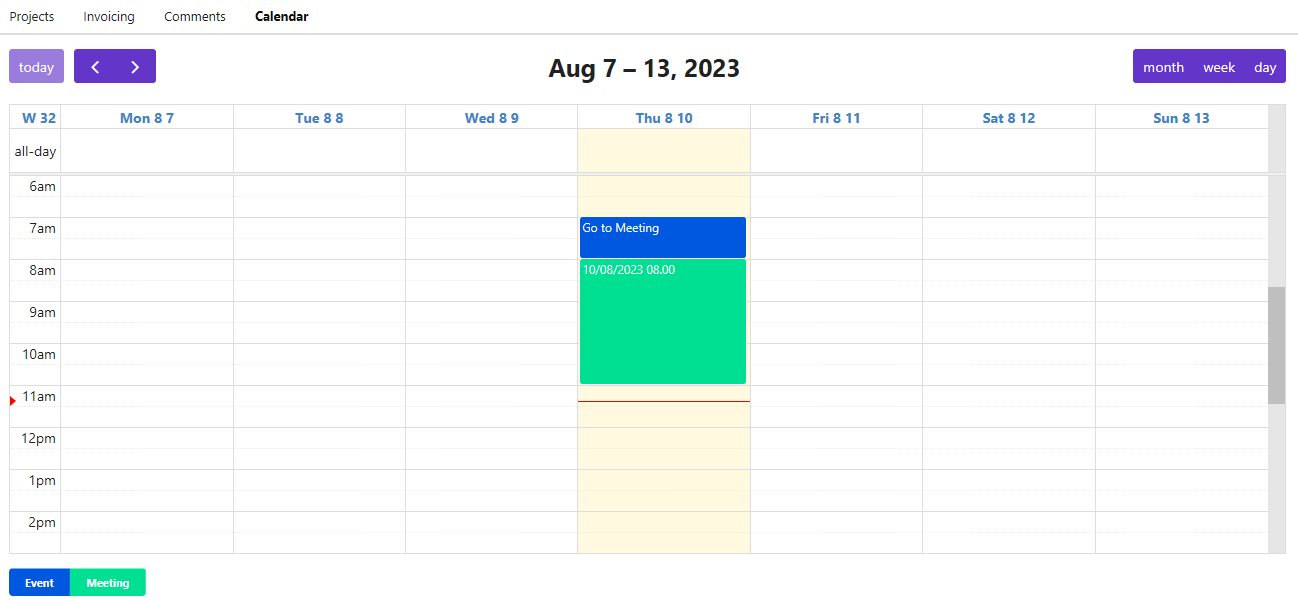
Finally, you can show and hide different event types by pressing the buttons just below the calendar.
Background Events#
One final detail, in CtrlPortals we also have a configuration that can turn a calendar Event type into a background event type. A background event is a type of event that is shown below other events and can be used to manage e.g. individual working hours or other kinds of calendar entries that should be reserve a spot in the calendar without blocking other events.
Go to the Hierarchical view and follow the procedure from earlier to copy our event class. This time, name it something like ‘Working hours’.
Go back to your Portal configuration and copy the event type again. Rename the event type, change the colour and make sure to set the IsBackgroundEvent entry to Yes.
Now, refresh the Portal configuration and try to add a working hours entry.